- Website migration is any major structural, technical, or location change made to a website that can affect how Google crawls and ranks it
- There are six main types of website migration including domain migration, CMS migration, HTTPS migration, URL migration, hosting migration, and website redesign migration
- Every website migration carries SEO risk but with the right checklist that risk is manageable and largely preventable
- 301 redirects are the single most important technical element of any website migration involving URL changes
- A study from Search Engine Journal found it took websites an average of 17 months to fully recover traffic lost from a poorly managed migration
1 What Is Website Migration and Why It Is One of the Riskiest Things You Can Do to Your Website
Website migration is a term that sounds straightforward but covers a surprisingly wide range of scenarios. Understanding exactly what qualifies as a website migration is the first step to approaching one safely.
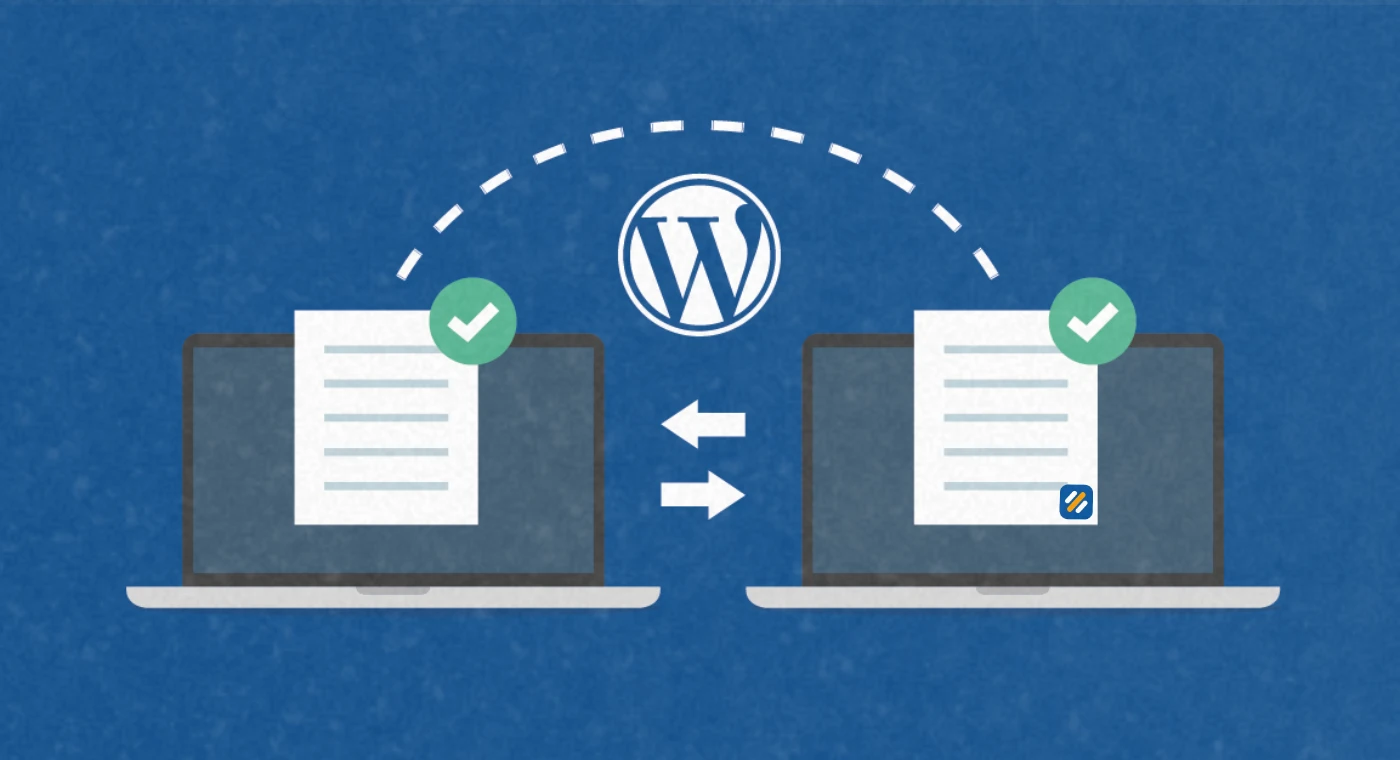
A website migration is any significant change made to a website that affects its technical infrastructure, URL structure, content organisation, or server location in a way that search engines need to reprocess and re-evaluate. These are not small tweaks. They are fundamental changes that force Google to recrawl, reindex, and re-rank your entire website from scratch.
Here is why this matters so much. Google builds its understanding of your website over months and years. It learns which pages exist, what they are about, how they relate to each other, and how much authority they deserve. A website migration disrupts all of that understanding simultaneously.
In many years of managing SEO for clients across multiple industries including B2b, healthcare, and ecommerce, I have seen both sides of website migration. A well-planned migration with proper redirects and pre-migration benchmarking can actually improve rankings after a short adjustment period. A poorly planned migration with missing redirects and no baseline data can destroy years of SEO work in a single afternoon.
The difference between those two outcomes is almost entirely preparation
2 6 Types of Website Migration You Need to Know
Not every website migration is the same. The type of migration you are doing determines which specific steps matter most and which risks you need to prioritise. Here are the six main types:
Type 1: Domain Migration
Domain migration means moving your website from one domain name to another. This could happen during a rebrand, a company name change, or a merger. For example, changing from oldcompanyname.com to newcompanyname.com. Domain migration is the highest-risk type because every single URL on your website changes simultaneously and all the authority built on the old domain needs to be transferred through 301 redirects.
Type 2: HTTP to HTTPS Migration
This is the process of moving your website from an unsecured HTTP protocol to a secure HTTPS protocol by installing an SSL certificate. Google officially confirmed HTTPS as a ranking signal in 2014. Any website still running on HTTP in 2026 is both losing ranking potential and damaging user trust. While this migration type carries lower risk than domain migration, it still requires 301 redirects from every HTTP URL to its HTTPS equivalent.
Type 3: CMS Migration
CMS migration means moving your website from one content management system to another. Common examples include moving from a custom-built website to WordPress, from Wix to WordPress, or from one ecommerce platform to another. The main risks here are URL structure changes, template changes that affect page rendering, and plugin or functionality gaps that affect technical SEO.
Type 4: URL Migration
URL migration involves restructuring how your website's URLs are organised without necessarily changing the domain. For example, changing from yoursite.com/blog/2019/03/article-title to yoursite.com/blog/article-title. Every URL change requires a 301 redirect from the old structure to the new one or that page's ranking history and backlink value disappears.
Type 5: Website Hosting Migration
Hosting migration means moving your website files from one server or hosting provider to another. The domain stays the same and URLs stay the same but the physical location of your files changes. The main SEO risk here is downtime during the transfer and DNS propagation issues that make your site temporarily unreachable to Google.
Type 6: Website Redesign Migration
A website redesign migration involves significant changes to your site's design, layout, and structure while potentially also updating URLs, removing content, or adding new sections. This is the most common type and often the most mismanaged because teams focus on the visual result and forget about the technical SEO implications of structural changes.
3 Does Website Migration Affect SEO
Yes. Every website migration affects SEO to some degree. The question is not whether it will but how much and for how long.
Here is what happens to your SEO during a migration
When you change URLs, Google has to rediscover and reprocess every page on your site. Even with perfect 301 redirects, there is a temporary period where Google is updating its index. During this period rankings fluctuate, sometimes significantly.
When you change your CMS or hosting, your page speed and Core Web Vitals scores may change, either positively or negatively. Since page experience is a confirmed Google ranking factor, these changes directly affect how Google evaluates your pages.
When you consolidate or remove content, Google loses indexed pages it previously trusted. If those pages had backlinks or consistent traffic, removing them without redirects destroys that value permanently.
A study from Search Engine Journal found that websites that lost traffic during migration took an average of 17 months to fully recover. That statistic is a warning, not a guarantee. Websites that follow a proper migration process with pre-migration baselines, complete redirect mapping, and post-migration monitoring recover significantly faster.
| Migration Type | SEO Risk Level | Primary Risk | Average Recovery Time |
|---|---|---|---|
| HTTP to HTTPS | Low | Mixed content errors, missed redirects | 2 to 4 weeks |
| URL restructuring | Medium | Redirect chains, lost backlink equity | 1 to 3 months |
| Hosting migration | Low to Medium | Downtime, DNS propagation delays | 1 to 2 weeks |
| CMS migration | Medium to High | URL changes, rendering issues, speed changes | 2 to 4 months |
| Website redesign | Medium to High | Content removal, URL changes, speed changes | 2 to 6 months |
| Domain migration | High | Full URL change, authority transfer delay | 3 to 12 months |
4 What Is 301 Redirect and Why It Is the Foundation of Every Website Migration
If there is one concept you need to understand before touching anything in a website migration, it is the 301 redirect.
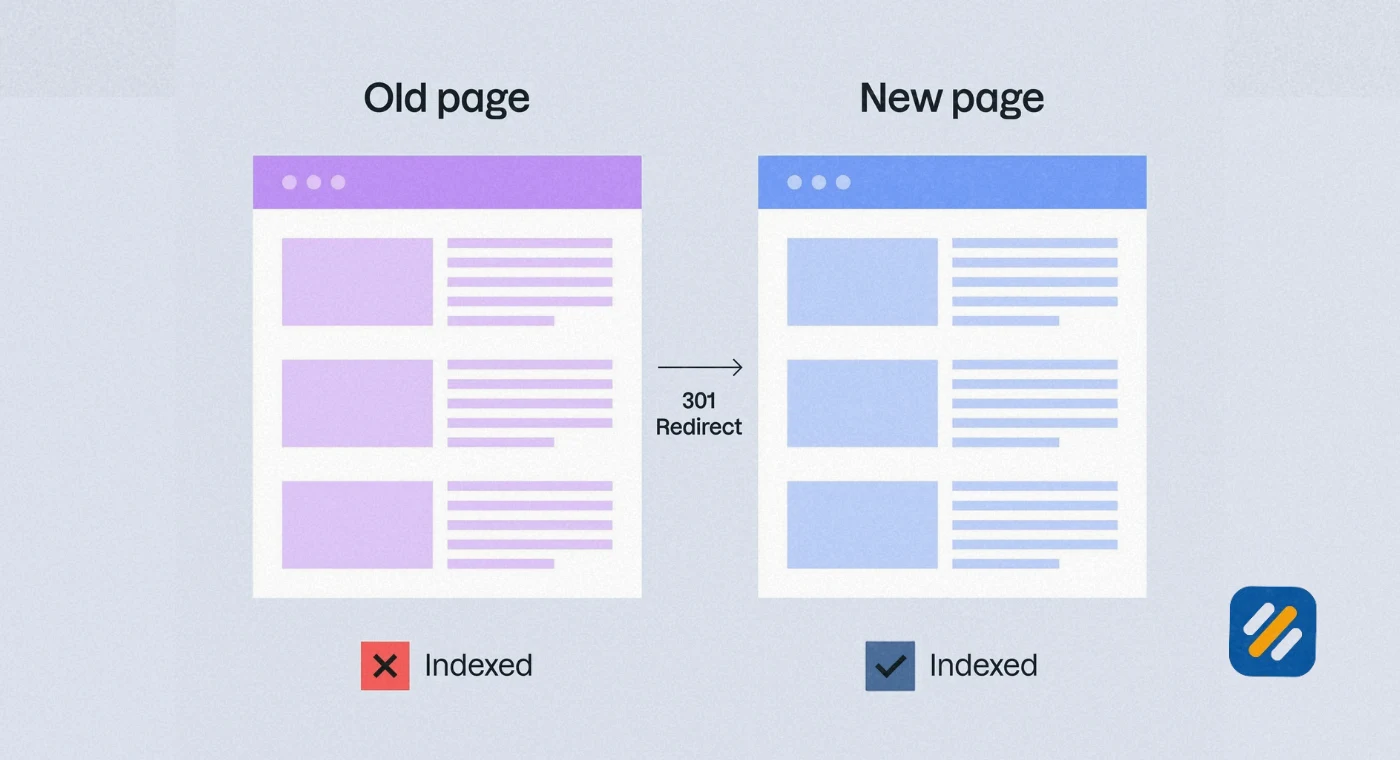
A 301 redirect is a permanent redirect that tells both browsers and search engines that a URL has moved to a new location permanently. When Google encounters a 301 redirect, it transfers the link equity and ranking authority from the old URL to the new one and updates its index to reflect the change.
Without 301 redirects during a migration, every URL that changes becomes a dead end. Visitors click links and hit a 404 error page. Google loses its understanding of where your content moved. Backlinks from other websites that pointed to your old URLs pass no authority to your new site. Years of SEO work disappears overnight.
Here is how 301 redirects protect your SEO during migration
They preserve backlink equity. Any website that linked to your old URL now sends its authority to your new URL through the redirect chain. Without the redirect, that link becomes worthless.
They protect user experience. Visitors who bookmarked old URLs, clicked links in old emails, or found your old URLs on third party websites are automatically sent to the correct new page.
They tell Google where content moved. Google can update its index from old URL to new URL rather than treating the new URL as a completely new page with zero history.
The technical rule for 301 redirects during migration is simple. Every URL that changes needs a 301 redirect from its old address to its new equivalent. No exceptions.
5 Complete Website Migration SEO Checklist | Phase by Phase
This is the full checklist I follow when managing a website migration for any client. It is organised into five phases that mirror the natural timeline of any migration project.
Phase 1: Pre-Migration Planning
| Pre-Migration Task | Why It Matters | Priority |
|---|---|---|
| Set clear migration goals and success metrics | Defines what success looks like and what to measure | Critical |
| Establish baseline analytics in GSC, GA4, and rank tracker | Gives you comparison data to measure impact post-migration | Critical |
| Export complete list of all current URLs from sitemap, GSC, and Screaming Frog | Creates the foundation for your redirect map | Critical |
| Document current site architecture and internal link structure | Ensures new site maintains the same content hierarchy | High |
| Run a full technical SEO audit on current site | Identifies existing issues to fix during migration rather than carry over | High |
| Record current keyword rankings for all target keywords | Provides baseline to monitor ranking recovery | Critical |
| Identify all pages with external backlinks | These pages need priority redirect mapping | Critical |
| Create a rollback plan | Allows you to revert if critical issues appear post-launch | High |
| Align all stakeholders on timeline, risks, and responsibilities | Prevents departmental conflicts and rushed decisions | Medium |
| Lower DNS TTL value if changing hosting | Speeds up DNS propagation to new server after migration | Medium |
Phase 2: Build and Test on Staging
Before anything goes live, your new website needs to be built and tested in a staging environment. A staging site is a private copy of your new website that is blocked from search engines and regular users.
Block your staging site from Google by adding a noindex meta tag to every page and adding password protection. This prevents Google from indexing your test environment before it is ready.
Run a full technical SEO audit on the staging site using Screaming Frog or Semrush Site Audit. Fix every error before the site goes live. Migration is the best opportunity to clean up technical debt that has been accumulating on your current site.
Check that every page renders correctly in both desktop and mobile views. Google uses mobile-first indexing, meaning it evaluates your mobile site, not your desktop site, when making ranking decisions.
Test your Core Web Vitals score on the staging site using Google PageSpeed Insights. If the new site scores lower than your current site, investigate the cause and fix it before launch.
Phase 3: URL Mapping
Create a complete redirect map before migration day. This document lists every URL on your current site alongside its new destination URL. For every URL being changed, the map should specify whether it gets a 301 redirect to a new URL or a 410 gone status if the content is being permanently removed.
Never redirect deleted content to your homepage. Google calls this a soft 404 redirect and penalises it. If content is being removed with no equivalent replacement, serve a proper 410 status code.
Update all internal links on the staging site to point directly to new URLs rather than relying on redirects. Internal links pointing through redirects waste crawl budget and slow down Google's ability to discover your new content.
Phase 4: Launch Day
| Launch Day Task | Why It Matters |
|---|---|
| Create final backup of current live site | Last recovery point before changes go live |
| Remove noindex tags from new site | Allows Google to crawl and index new pages |
| Remove staging site password protection | Opens site to users and crawlers |
| Enable all 301 redirects | Transfers authority from old URLs to new URLs |
| Update DNS settings if changing hosting | Points domain to new server |
| Submit new XML sitemap in Google Search Console | Accelerates Google's discovery of new pages |
| Use GSC Change of Address tool if changing domain | Signals to Google that domain has permanently moved |
| Update external links you control (social profiles, directory listings, email signatures) | Reduces redirect chain dependency on links you own |
| Rerun site audit to confirm no new errors | Catches any issues created during launch process |
Phase 5: Post-Migration Monitoring
The migration is not complete when the new site goes live. It is complete when Google has finished reprocessing your entire site and your rankings have stabilised. This can take weeks to months depending on the size and complexity of your migration.
Monitor Google Search Console daily for the first two weeks after migration. Watch the Pages report for unexpected 404 errors, the Coverage report for new indexing issues, and the Performance report for ranking changes.
Track your target keyword rankings weekly using a rank tracking tool. Expect fluctuations in the first four to eight weeks. This is normal. What is not normal is sustained ranking drops beyond the third month without any recovery trend.
Monitor your organic traffic in Google Analytics 4 daily for the first month. Compare weekly traffic against your pre-migration baseline. A 10 to 20% temporary drop is expected. A 50% sustained drop over multiple weeks requires immediate investigation.
6 Website Migration Risks and How to Prevent Each One
Every migration carries specific risks. Knowing them in advance is what allows you to prevent them before they happen.
Risk 1: Traffic Loss From Missing Redirects
The most common and most damaging migration risk. If any URL that has traffic, backlinks, or rankings is changed without a 301 redirect, that page's value disappears. Prevention: Map every URL with confirmed traffic or backlinks to its new destination before migration day.
Risk 2: Accidental Crawl Blocking
A misconfigured robots.txt file or a noindex tag left in place after staging can block Google from crawling your entire new website. I have seen this happen on large ecommerce migrations where the staging noindex setting was never removed. Prevention: Verify robots.txt and noindex status the moment your new site goes live using Google Search Console's URL Inspection tool.
Risk 3: Duplicate Content From HTTP and HTTPS Versions
If your HTTP to HTTPS migration is incomplete, Google may index both versions of your pages creating duplicate content issues. Prevention: Ensure all HTTP URLs 301 redirect to their HTTPS equivalents and that canonical tags on every page point to the HTTPS version.
Risk 4: Redirect Chains
A redirect chain occurs when URL A redirects to URL B which redirects to URL C. Each hop in the chain loses a small percentage of link equity and slows down crawling. Prevention: During URL mapping, ensure every redirect goes directly from old URL to new URL with no intermediate steps.
Risk 5: Content Quality Regression
Website redesigns sometimes result in content being shortened, restructured, or removed in the name of cleaner design. If a page was ranking because of its content depth, reducing that depth will hurt its rankings. Prevention: Before removing or shortening any content, check whether it has ranking keywords or organic traffic in Google Search Console.
7 How to Do a Website Migration Without Losing SEO Rankings | Step by Step
Here is the practical implementation guide for executing a website migration from start to finish while protecting your search rankings.
Step 1: Audit your current site before touching anything
Run Screaming Frog or Semrush Site Audit on your live website and export the complete URL list. This becomes the foundation of your redirect map. Also record your top 50 keyword rankings, your organic traffic level, and your Core Web Vitals scores as your baseline.
Step 2: Build your new site in a staging environment
Never build migration changes directly on your live site. A staging environment lets you test, fix, and validate everything before any real users or search engines see it.
Step 3: Create your redirect map
For every URL on your current site, decide: does it move to a new URL (301 redirect), get permanently removed (410 status), or stay the same (no action needed). Prioritise URLs with backlinks, traffic, or rankings.
Step 4: Fix technical SEO on the staging site
Use migration as an opportunity to fix every technical SEO issue that exists on your current site. Fix broken internal links, optimise title tags, add missing meta descriptions, improve page speed, and ensure mobile responsiveness is perfect.
Step 5: Implement redirects and launch
On migration day, enable all 301 redirects, remove staging blocks, update DNS if needed, and submit your new sitemap in Google Search Console. If you are changing domains, submit the Change of Address form in GSC.
Step 6: Monitor and respond for 90 days
Check Google Search Console every few days for the first 90 days. Any page that is not recovering should be investigated individually. Common causes include missing redirects, new technical errors, or content quality issues on the new page.
8 3 Expert Tips for a Smoother Website Migration
These are the tips that go beyond the standard checklist and come from real migration experience across multiple client projects.
Expert Tip 1: Migrate During Low Traffic Periods
Schedule your migration launch for a Tuesday, Wednesday, or Thursday during business hours in your target time zone. Avoid Fridays because if something goes wrong you have a weekend before your team can fully respond. Avoid Mondays because analytics from the weekend can mask early migration issues. Launching mid-week during office hours means your full team is available to respond to any problem within minutes.
Expert Tip 2: Never Rush Your Redirect Map
The redirect map is the most important document in any website migration and the one most commonly rushed. Every URL that has a backlink, organic ranking, or measurable traffic needs to be mapped individually to the most relevant new URL. A generic redirect of all 404 pages to the homepage is not a redirect map. It is a soft 404 problem that will cost you rankings. Spend whatever time it takes to map every significant URL correctly.
Expert Tip 3: Keep Your Old Hosting Live for 30 Days After Migration
After migrating to a new host or domain, keep your old hosting account active for at least 30 days. This gives you a live fallback if something critical fails on the new site and gives Google time to fully process and transfer authority from old URLs to new ones before the old infrastructure disappears.
9 Conclusion
Website migration is one of the highest-stakes technical operations in digital marketing. Done correctly with proper planning, a complete redirect map, and diligent post-migration monitoring, it can be an opportunity to improve your SEO while upgrading your website. Done carelessly without baselines or redirects, it can erase years of organic growth in a matter of hours.
The difference between those two outcomes is not luck. It is preparation.
Use the checklist in this guide as your complete framework for every migration decision. Start with your URL audit. Build your redirect map before you touch anything live. Test everything on staging. Launch during business hours. Monitor daily for the first 90 days.
Every step in this guide exists because of a real mistake that caused real traffic loss on a real website. Following it means you learn from those mistakes without having to make them yourself.
Have a question about your specific website migration situation? Drop a comment below and I will give you a direct answer based on real migration experience.
Join 1,000+ business owners and bloggers who get one actionable SEO tip every week — straight to their inbox. Free forever.
Get Free Weekly Tips →